Transform Your Backyard With a DIY Outdoor Fireplace
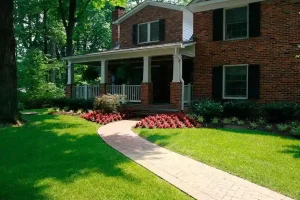
Looking to transform your backyard into a cozy retreat? DIY outdoor fireplace designs offer an affordable way to create a luxurious outdoor living space. Here are some quick pointers:
- Space Assessment: Determine the best spot for your fireplace, considering your backyard layout and clearance requirements.
- Local Codes: Understand fire safety regulations and other local codes.
- Inspiration: Get creative by browsing Pinterest or other design platforms.
- Budget Planning: Plan your budget, weighing the costs of DIY vs. hiring a contractor.
DIY outdoor fireplaces can dramatically change the vibe of your backyard, adding both warmth and an neat focal point. At Berriz Design Build, we believe in the power of high-quality craftsmanship to create luxurious outdoor spaces.
I’m Bob Berriz, and for over 30 years, I’ve specialized in turning backyards into private outdoor resorts. My expertise in diy outdoor fireplace designs ensures that you, too, can build with confidence and style.
Let’s explore the planning phase!
Planning Your DIY Outdoor Fireplace
Assessing Your Space
Before you start building your DIY outdoor fireplace, you need to assess your space. This means looking at your backyard layout and figuring out where the fireplace will fit best.
Backyard Layout
Think about where people gather in your yard. Choose a spot that’s easy to access and has enough room for seating. Make sure it’s at least 10 to 30 feet away from your house and 10 feet away from your property line. This helps keep everything safe and within general safety regulations.
Clearance Requirements
Check for overhanging trees or low-hanging branches. You don’t want anything flammable near the fireplace. Also, consider the wind direction. Place the fireplace so smoke blows away from seating areas and your home.
HOA Restrictions
If you live in a community with a Homeowners Association (HOA), you might have additional rules to follow. Contact your HOA to find out if there are any restrictions on building an outdoor fireplace.
Understanding Local Codes and Regulations
Before you start digging, it’s essential to understand local codes and regulations. This ensures your project is safe and legal.
Fire Safety
Fire safety is paramount. Use a spark arrestor to prevent embers from escaping. Make sure your fireplace has proper ventilation. This helps the fire burn cleanly and efficiently.
Spark Arrestors
A spark arrestor is a screen that catches sparks and embers. It’s an essential safety feature that prevents fires from spreading.
Open Fire Bans
Some areas have open fire bans during certain times of the year due to air quality or fire risk. Check with your local permitting office for any restrictions.
Gathering Design Inspiration
Finding the right design for your outdoor fireplace is crucial. You want something that fits your style and meets your needs.
Pinterest Ideas
Pinterest is a great place to start. You’ll find countless ideas for traditional and modern designs. Save your favorite pins to create a vision board for your project.
Traditional vs. Modern Designs
Traditional designs often feature classic stone or brickwork and symmetrical layouts. Modern designs, on the other hand, are sleek and minimalist, often using materials like concrete and metal.
Fire Pit Alternatives
If you’re not set on a fireplace, consider a fire pit. Fire pits can create a casual, communal atmosphere and are often easier to build.
Budget Planning
Planning your budget is a critical step in your DIY outdoor fireplace project. Knowing how much you’re willing to spend will guide your design choices and material selections.
Cost Range
The cost of building an outdoor fireplace can vary widely. On the lower end, you might spend around $1,000. High-end projects can cost $5,000 or more.
DIY vs. Contractor
Doing it yourself can save you a lot of money. Hiring a contractor is faster and less labor-intensive but much more expensive. Weigh the pros and cons to decide what’s best for you.
Material Costs
Materials can be a significant part of your budget. Common materials include cinder blocks, firebrick, concrete, and mortar. Prices can vary based on quality and availability.

By carefully assessing your space, understanding local regulations, gathering design inspiration, and planning your budget, you’ll be well-prepared to start building your own outdoor fireplace. Up next, we’ll dive into the essential tools and materials you’ll need for this exciting project.
Essential Tools and Materials
Before you start building your DIY outdoor fireplace, it’s crucial to gather all the necessary tools and materials. This ensures a smooth workflow and helps avoid any last-minute trips to the hardware store.
Tools You Will Need
Having the right tools is essential for any DIY project. Here are the key tools you’ll need:
- Dead Blow Hammer: This is great for tapping blocks into place without damaging them.
- Caulk Gun: Useful for applying adhesive or sealant.
- Levels: You’ll need both a 4-foot level and a torpedo level to ensure everything stays straight and even.
- Square: A large square, like the Romanstone “Big Ass Square,” is ideal for keeping your structure plumb and level.
- 2 Ladders (6 Ft Min): These are necessary for reaching higher sections safely.
Materials to Gather
The materials you choose will impact the durability and appearance of your fireplace. Here’s what you’ll need:
- Cinder Blocks: These form the main structure of your fireplace. They are sturdy and relatively easy to work with.
- Firebrick: Essential for lining the firebox, these bricks can withstand high temperatures.
- Concrete: Used for the foundation, it provides a stable and long-lasting base.
- Mortar: This acts as the adhesive that holds your blocks and bricks together. Opt for a high-temperature, quick-set mortar.
Safety Gear
Safety should always be a priority when working on a DIY project. Here’s the essential safety gear you’ll need:
- Gloves: Protect your hands from cuts, abrasions, and chemicals.
- Safety Glasses: Shield your eyes from flying debris and dust.
- Dust Mask: Prevents inhalation of harmful particles, especially when cutting or mixing materials.
By gathering these tools, materials, and safety gear, you’ll be well-prepared to tackle your DIY outdoor fireplace project. Now that you have everything ready, let’s move on to the step-by-step guide for building your fireplace.
Step-by-Step Guide to Building Your DIY Outdoor Fireplace
Building an outdoor fireplace from scratch might seem daunting, but with the right steps, it’s a manageable project. This guide will walk you through each stage, from laying the foundation to adding the finishing touches.
Building the Foundation
The foundation is the backbone of your fireplace. It needs to be strong and level to support the structure.
-
Dig the Area: Clear and excavate a section in the ground, typically 70 inches long by 56 inches wide. Flatten and level the ground.
-
Add Gravel: Spread about 2 inches of gravel over the area and tamp it down using a tamper. This helps with drainage and provides a stable base.
-
Build the Form: Use two-by-sixes to create a concrete form. Cut two sections to 68 inches and two to 40 inches. Nail them together to form a rectangle. Place the form on the gravel and ensure it is square using a bubble level.
-
Pour the Concrete: Mix quick-set concrete in a mortar mixing pan. Pour half of the concrete into the form, lay rebar around the perimeter, and then pour the rest of the concrete. Smooth it out with a concrete trowel.
-
Cure the Concrete: Allow the concrete to cure for at least 4-5 days. Remove the form after 1-2 days.
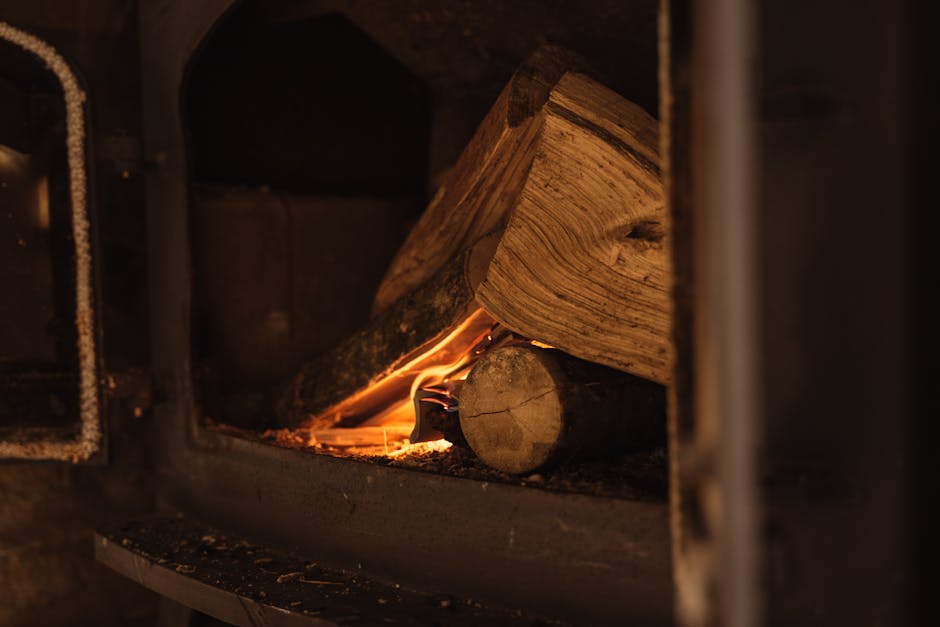
Constructing the Firebox
The firebox is the heart of your fireplace. It’s where the fire will burn, so it needs to be sturdy and well-constructed.
-
Lay the First Course: Start laying cinder blocks from the center. This helps keep everything aligned. Make sure the blocks are level and square.
-
Build Up the Walls: Continue stacking the blocks, ensuring each layer is level. Use a bubble level to check your work frequently.
-
Install the Fire Grate: Place a fire grate at the bottom of the firebox. This helps with air circulation and makes the fire burn more efficiently.
-
Add the Lintel Block: At the top of the firebox opening, place a lintel block. This will support the structure above the firebox.
Creating the Smoke Chamber
The smoke chamber is essential for directing smoke up the chimney and away from your seating area.
-
Build the Smoke Shelf: Construct a horizontal ledge behind the firebox. This helps redirect downdrafts and prevents smoke from spilling out.
-
Rack the Blocks: Start racking blocks in approximately 2 inches from each side and about 4 inches from the front. Use a straight edge to keep your runs straight.
-
Maintain Plumb and Level: Ensure the back wall of the fireplace remains plumb while racking the blocks. This keeps the structure stable.
Assembling the Chimney
The chimney directs smoke away from your seating area. It needs to be tall enough to ensure proper ventilation.
-
Stack the Blocks: Begin stacking blocks for the chimney, ensuring each layer is level and square. This is crucial for proper smoke ventilation.
-
Use Chimney Extensions: If needed, use chimney extension kits to ensure your chimney clears any nearby structures. This improves draft and reduces smoke backflow.
-
Maintain Level: Use your bubble level frequently to ensure the chimney remains vertical and stable.
Adding the Finishing Touches
The final steps involve adding aesthetic and functional elements to complete your fireplace.
-
Install the Fireplace Cap: Place the cap on top of the chimney. This helps keep rain and debris out of the flue.
-
Add Trim Pieces: Glue trim pieces around the top of the chimney and firebox. These are the lightest and smallest pieces, used for trimming and creating a mantle.
-
Curing Time: Allow the fireplace to cure for 72 hours before lighting your first fire. This ensures the mortar sets properly and the structure is stable.
By following these steps, you’ll have a beautiful and functional outdoor fireplace that becomes the centerpiece of your backyard. Now, let’s explore some DIY outdoor fireplace designs to inspire your own project.
DIY Outdoor Fireplace Designs
When it comes to DIY outdoor fireplace designs, there are several styles to choose from. Each has its unique charm and functionality. Let’s explore four popular designs: traditional, modern, corner, and combo.
Traditional Designs
Traditional outdoor fireplaces are all about the classic look. These designs often feature symmetrical layouts and incorporate elements like firewood storage.
Classic Look & Symmetrical Layout: This style typically includes a central firebox with evenly balanced sides. The symmetry creates a pleasing aesthetic and makes the fireplace a focal point.
Firewood Storage: Many traditional designs include built-in storage spaces for firewood. This not only adds to the rustic charm but also keeps your wood dry and handy.
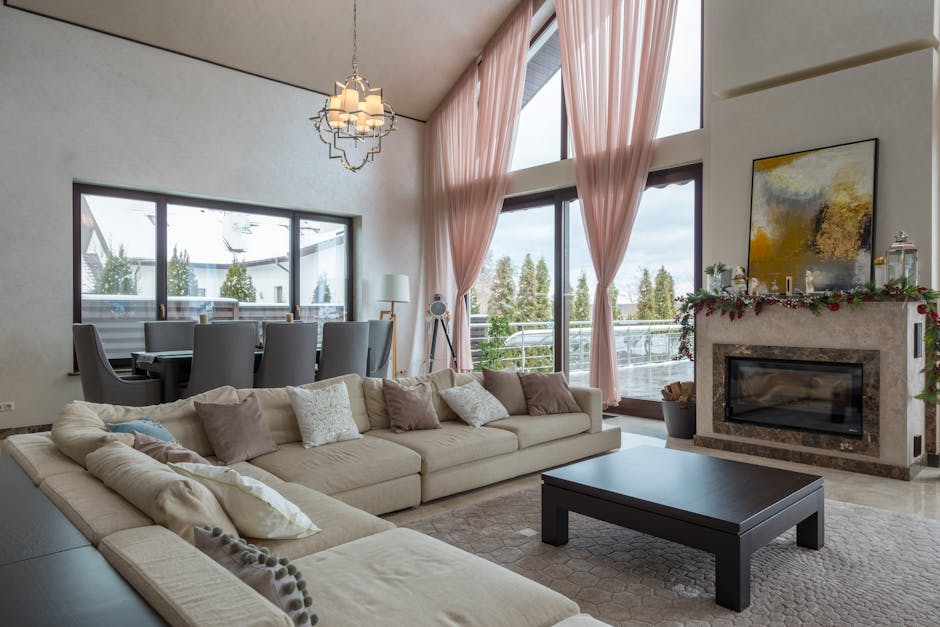
Modern Designs
For those who prefer a contemporary touch, modern designs are the way to go. These fireplaces emphasize sleek lines, a minimalist approach, and contemporary materials.
Sleek Lines & Minimalist Approach: Modern fireplaces often feature clean, straight lines and a minimalist design. This means fewer decorative elements and a focus on simplicity.
Contemporary Materials: Materials like concrete, stainless steel, and glass are commonly used. These not only look chic but also withstand the elements well.
Corner Designs
Corner designs are perfect for maximizing space, especially in smaller yards. These fireplaces fit neatly into a corner, offering space-saving benefits and dual functionality.
Space-Saving & Angled Placement: Placing the fireplace in a corner frees up more space for other activities. The angled placement can also create a cozy nook for seating.
Dual Functionality: Some corner designs can serve as both a fireplace and a room divider, adding to their utility.

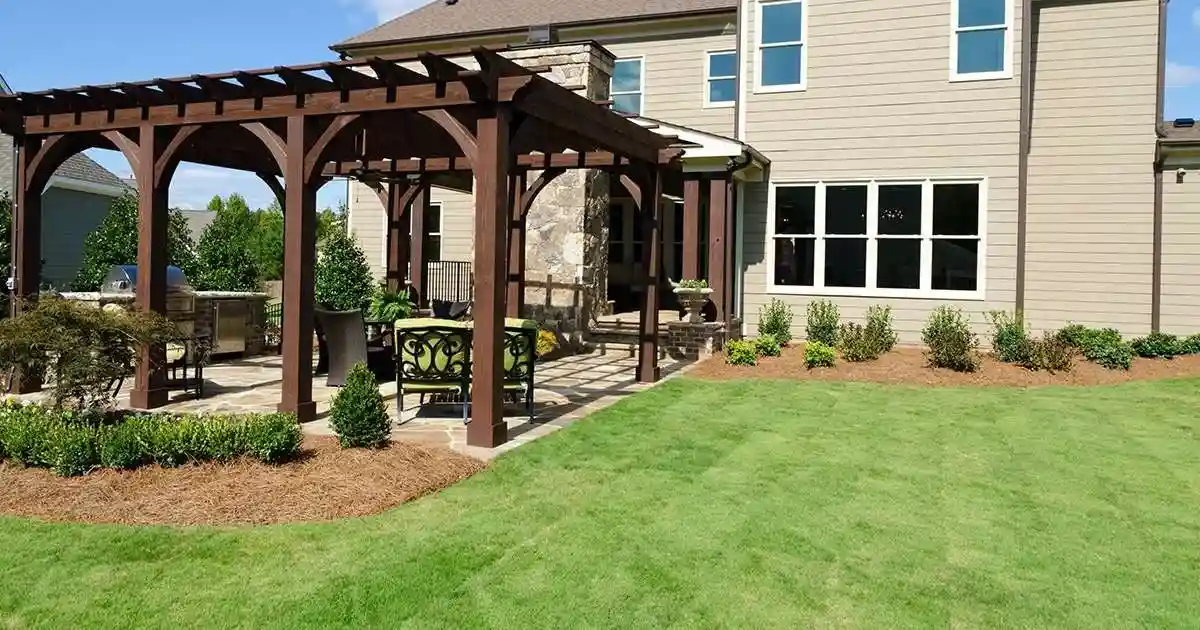
Combo Designs
Combo designs are for those who want a multi-functional outdoor space. These designs often combine a fireplace with other features like a kitchen or entertainment area.
Fireplace and Kitchen: Imagine a fireplace with an integrated BBQ grill or pizza oven. This setup is perfect for hosting outdoor dinners and parties.
Multi-Use Structures & Entertainment Focus: Combo designs can also include seating areas, TV mounts, and more. This makes them the ultimate entertainment hub for your backyard.
Each of these DIY outdoor fireplace designs offers unique benefits and can transform your backyard into a luxurious retreat. Next, we’ll answer some frequently asked questions to help you get started on your project.
Frequently Asked Questions about DIY Outdoor Fireplace Designs
Can I build my own outdoor fireplace?
Yes, you can! Building your own outdoor fireplace is a rewarding DIY project. It’s an opportunity to create a personalized gathering spot for your family and friends.
Feasibility: Many homeowners with little to no masonry experience have successfully built their own fireplaces. Start with a simple design if you’re a beginner.
Skill Level: Basic masonry skills are helpful but not mandatory. There are plenty of resources, including step-by-step guides and video tutorials, to help you.
Time Investment: Expect to spend a few weekends on the project. For example, a backyard fireplace can be built in three weekends with hard work.
Practical Tip: Use a fireplace kit for an easier build. These kits come with pre-cut materials and detailed instructions.
How much does it cost to build an outdoor fireplace DIY?
Costs can vary widely depending on design, materials, and whether you use a kit or build from scratch.
Budget Breakdown:
– Basic Fire Pit: A simple fire pit might cost a few hundred dollars.
– DIY Kits: Kits can range from $1,000 to $5,000.
– Custom Builds: Custom outdoor fireplaces start around $12,000.
Budget Tips:
– DIY Kits: These are more affordable and easier to assemble.
– Material Choices: Concrete blocks and stone veneer can keep costs down.
– Elbow Grease: Doing the labor yourself saves the most money.
High-End vs. Budget Options: High-end projects often use premium materials like natural stone and brick. Budget options can still look great and function well using more affordable materials.
Does an outdoor fireplace need a foundation?
Absolutely, yes! A solid foundation is crucial for stability and safety.
Foundation Importance:
– Stability: Prevents your fireplace from shifting or settling unevenly.
– Safety: Ensures the structure can support the weight of the fireplace and withstands weather conditions.
Construction Tips:
– Concrete Slab: Start with a sturdy, level concrete slab.
– Reinforcement: Use rebar for added strength.
Stability Factors:
– Leveling: Ensure the foundation is perfectly level.
– Curing Time: Allow the concrete to cure properly before building on top.
Practical Tip: Always check local building codes and regulations. Some areas have specific requirements for outdoor fireplaces.
These FAQs should help you get started on your DIY outdoor fireplace project with confidence. Ready to transform your backyard? Let’s move on to the next section for more tips and tricks.
Conclusion
At Berriz Design Build, we specialize in creating luxury backyard changes that lift your outdoor living experience. Our expertise in DIY outdoor fireplace designs ensures that your project will not only be beautiful but also functional and safe.
We understand the importance of creating spaces that improve your lifestyle. That’s why we offer exceptional customer service from start to finish. Our team of skilled professionals is here to guide you through every step of the process, from initial design consultation to the final walkthrough.
Customer satisfaction is our top priority. We work closely with you to ensure your outdoor space exceeds your expectations. Our proactive communication and detailed planning help us avoid surprises and deliver results you’ll love.
When you choose Berriz Design Build, you’re opting for a partner who understands the nuances of creating stunning, valuable outdoor living spaces. Ready to transform your backyard into a luxurious oasis? Let us help you bring your outdoor fireplace dreams to life.
Contact us today and start your journey toward a stunning, valuable outdoor living space.